3D Printer
Calibration
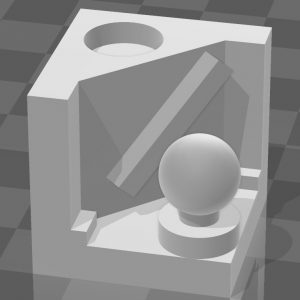
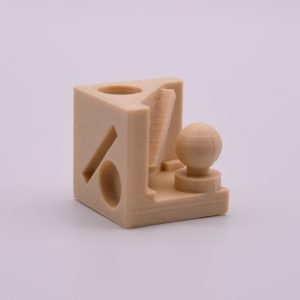
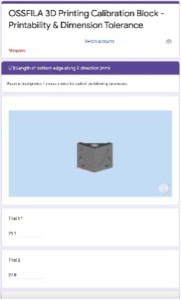
By printing a single calibration block and measuring the dimensions of various features on the block with a micrometer and calliper, one can obtain the errors between designed values and the printed values. The calibration block has a predefined diameter for the sphere, cylinder, hole on the block, as well as the length in X, Y, and Z direction. The printability can also be verified by testing whether the block can be printed with any deformity at a certain temperature and environment.
Printing Tolerance
Quality Assurance
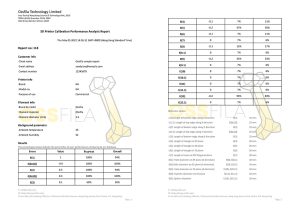
By printing the calibration block with the actually designated model at the same time, one can evaluate the tolerance and quality of the designated model by measuring the dimensions of the calibration block. If the calibration model’s dimension is within the acceptable tolerance, the tolerance of the designated should also be within the acceptable range. This produces a good quality reference of the dimensional tolerance without the use of expensive tools like coordinate-measuring machine (CMM) and vision measuring machine (VMM).
Step-By-Step
Calibration Procedures
Calibrate your 3D printer to achieve the best possible print! Takes only 15 minutes.
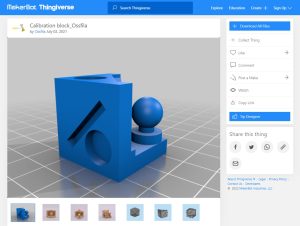
Step 1: Click HERE to download the calibration cube file.
Step 2: Set your slicers setting as listed below:
Step 3: Save the G-code and print the cube.
Step 4: Remove the cube from the surface when the print has finished and cooled.
Step 5: Measure the values with a caliper and submit HERE:
Expected dimensions of following features:
Step 7: Adjust your slicer setting with the report.
Step 8: (Optional) Repeat the test with different filaments for more accurate results.
Tips
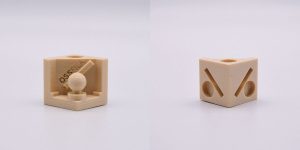
To know the dimensional accuracy of each of your 3D printed parts, you may print your desired items together with the calibration cube in the same run. Then measure the parameters of the calibration cube and submit the results as above.